Manage tags and gather useful insights into your visitors with Google Tag Manager
Google announced the release of their official tag managing tool. Titled Google Tag Manager, the tool lets you manage tags (such as tracking and marketing optimization tags) on your site. You can add and update AdWords, Google Analytics, Floodlight and non-Google tags from the Google Tag Manager user interface instead of editing site code.
Tags are tiny bits of website code that let you measure traffic and visitor behavior, understand the impact of online advertising and social channels, use remarketing and audience targeting, test and improve your site, and more.
Features include:
- Asynchronous tag loading—so your tags can fire faster without getting in each other’s way, and without slowing down the user-visible part of the page
- Easy-to-use tag templates, so marketers can quickly add tags with our web interface, as well as support for custom tags
- Error-prevention tools like Preview mode (so you can see proposed changes before implementing them), the Debug Console, and Version History to ensure that new tags won’t break your site
- User permissions and multi-account functionality to make it easy for large teams and agencies and clients to work together with appropriate levels of access
You can get started with Tag Manager in 4 simple steps:
Step 1: Create an account
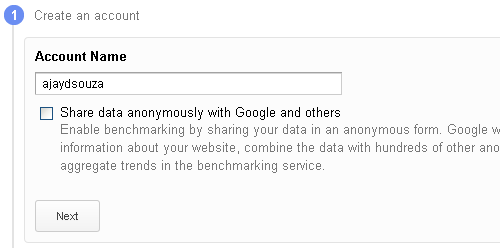
The first step is to create an Account. You can have multiple accounts and you can have multiple websites per account. This allows you to easily organise your websites neatly into multiple subcategories organised by client, if needed.
Step 2: Create a container
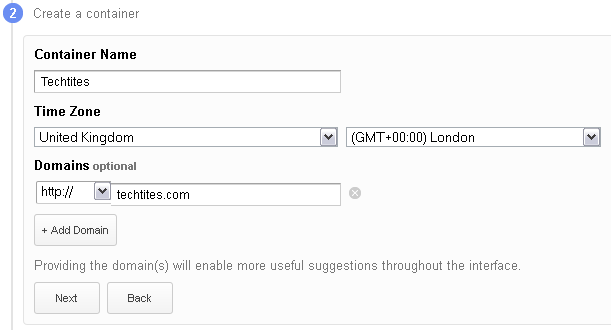
When you finish step 1 you can proceed to creating your container, i.e. the websites that you want to manage the tags for. I’ve filled the details in for Techtites.
Step 3: Get some code
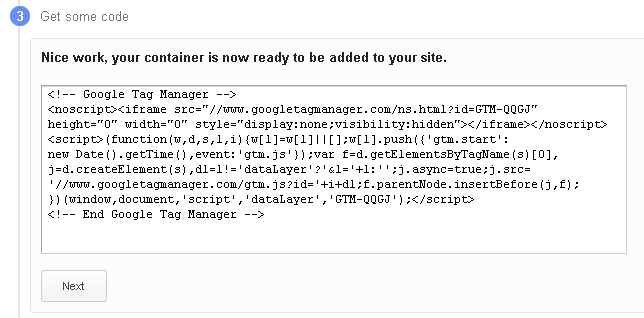
You now need to add code into your website’s template. Since I am running WordPress, I used my Add to All plugin to add the code on this blog without editing my template file.
Step 4: Add some tags
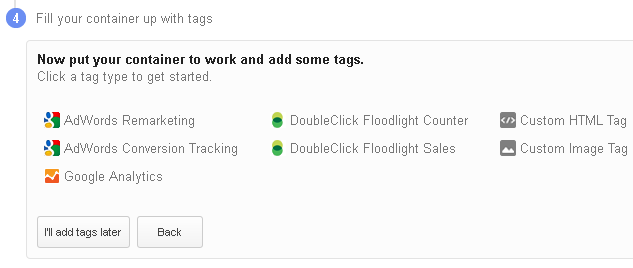
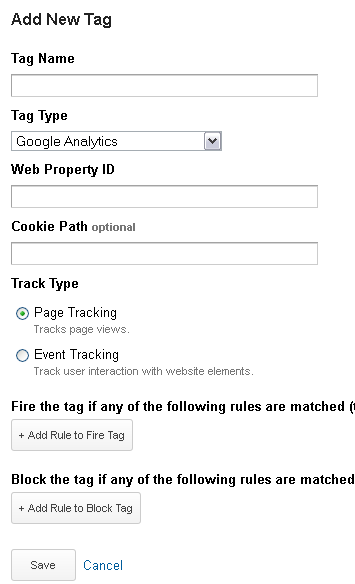
The final stage is to create your custom tags. You have several options as per the screenshot above and below is a screenshot of adding a new tag for your Google Analytics web property.
Will you be giving the Tag Manager a shot. Do you find it useful to gather insights about your visitors? Tell us your success story!


