5 Steps to setup your Google Inactive Account Manager
In today’s day and age where most of our information is online, including banking information and more importantly emails, it is essential to think about what happens to this data in case of an untimely passing. Similar to making a will to bequeath your belongings to your near and dear ones, planning your digital afterlife is essential.
Yesterday, Google launched a new feature called Inactive Account Manager that helps you in this regard, at least in the case of all things Google. You can now choose what happens with your data if your account goes inactive after a set period of time. You can choose to send it to a person(s) you nominate or delete your data.
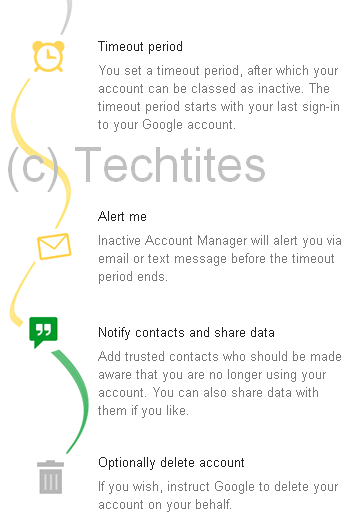
Here’s how you go about using it.
Step 1: Login to Inactive Account Manager
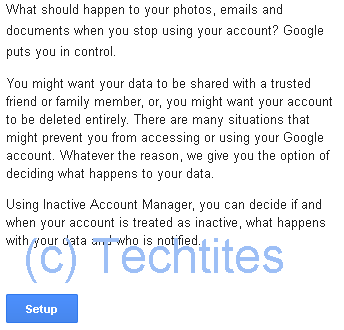
Simply follow this link to Inactive Account Manager and login with your Google ID and Password. Hit the Setup link and you’re ready to begin the wizard.
Step 2: Set Alert Me details
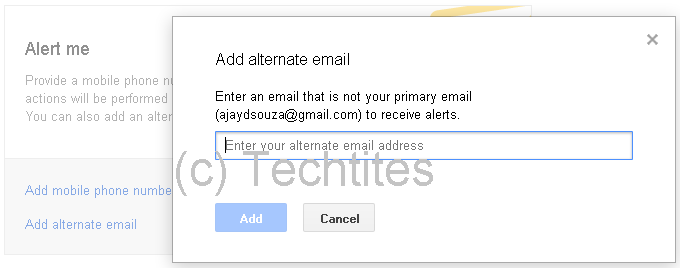
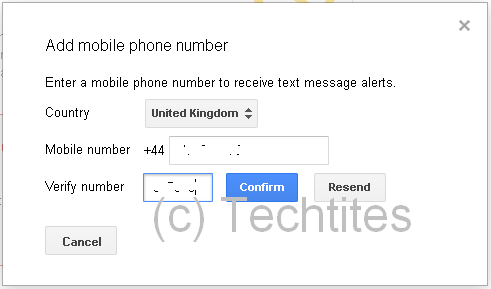
Provide a mobile phone number to be alerted before any actions will be performed on your account. You can also add an alternate email address.
Step 3: Set the timeout period
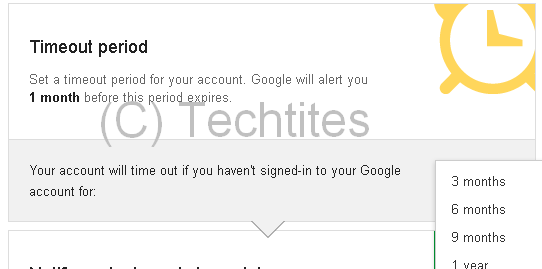
Set a timeout period for your account. Google will alert you 1 month before this period expires. You can choose between 3 months, 6 months, 9 months and a year.
Step 4: Notify contacts and share data
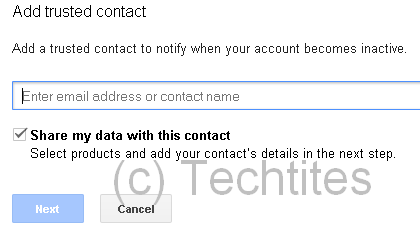
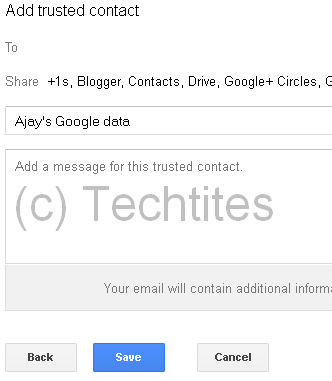
Add up to 10 trusted friends or family members who should be notified that your account is inactive. You can also share data with them if you like.
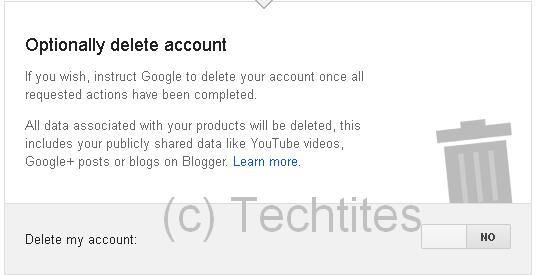
Step 5: Optionally delete account
Have you set up your Inactive Account Manager yet?

