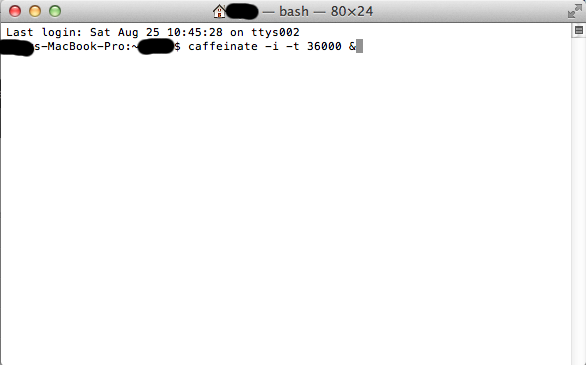
7 free applications to prevent your Mac from sleeping
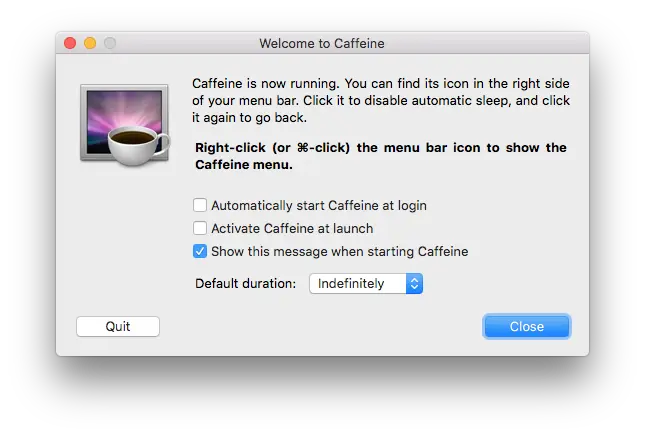
When it comes to power management, the Mac far excels any of the PCs. I have my Mac configured such that it goes to sleep within 30 minutes of it being idle. unfortunately this tends to disrupt my downloads and also prevents me from remote logging in whenever I want to.